Simply Static allows exporting your static website to NetlifyA platform for automating web projects that provides hosting and serverless backend services for web applications and st…. With the all-in-one static hosting platform, you get a lot of features out of the box, like forms, analytics, error page handling, and more.
Table of Contents
What is Netlify?
Netlify is an all-in-one static hosting provider that offers automatic deploymentThe act of pushing the static files generated by Simply Static to a live environment where users can access them. from GitHubA web-based platform for version control and collaboration, allowing multiple people to work on projects at once. and support for various features like forms, analytics, and artifact exports (staging sites for your static websites for quick previews).
GitHub
Preparing the GitHub Integration
To exportThe process of saving the files and data from your WordPress site to create a static site. your static website to Netlify, you need the GitHub integration from Simply Static. Create an account at github.com and configure your personal access token, as shown in the documentation here.
Once that’s done, you can switch back to WordPress and go to Simply Static -> Settings-> Deployment and select “GitHub” as a deployment option:
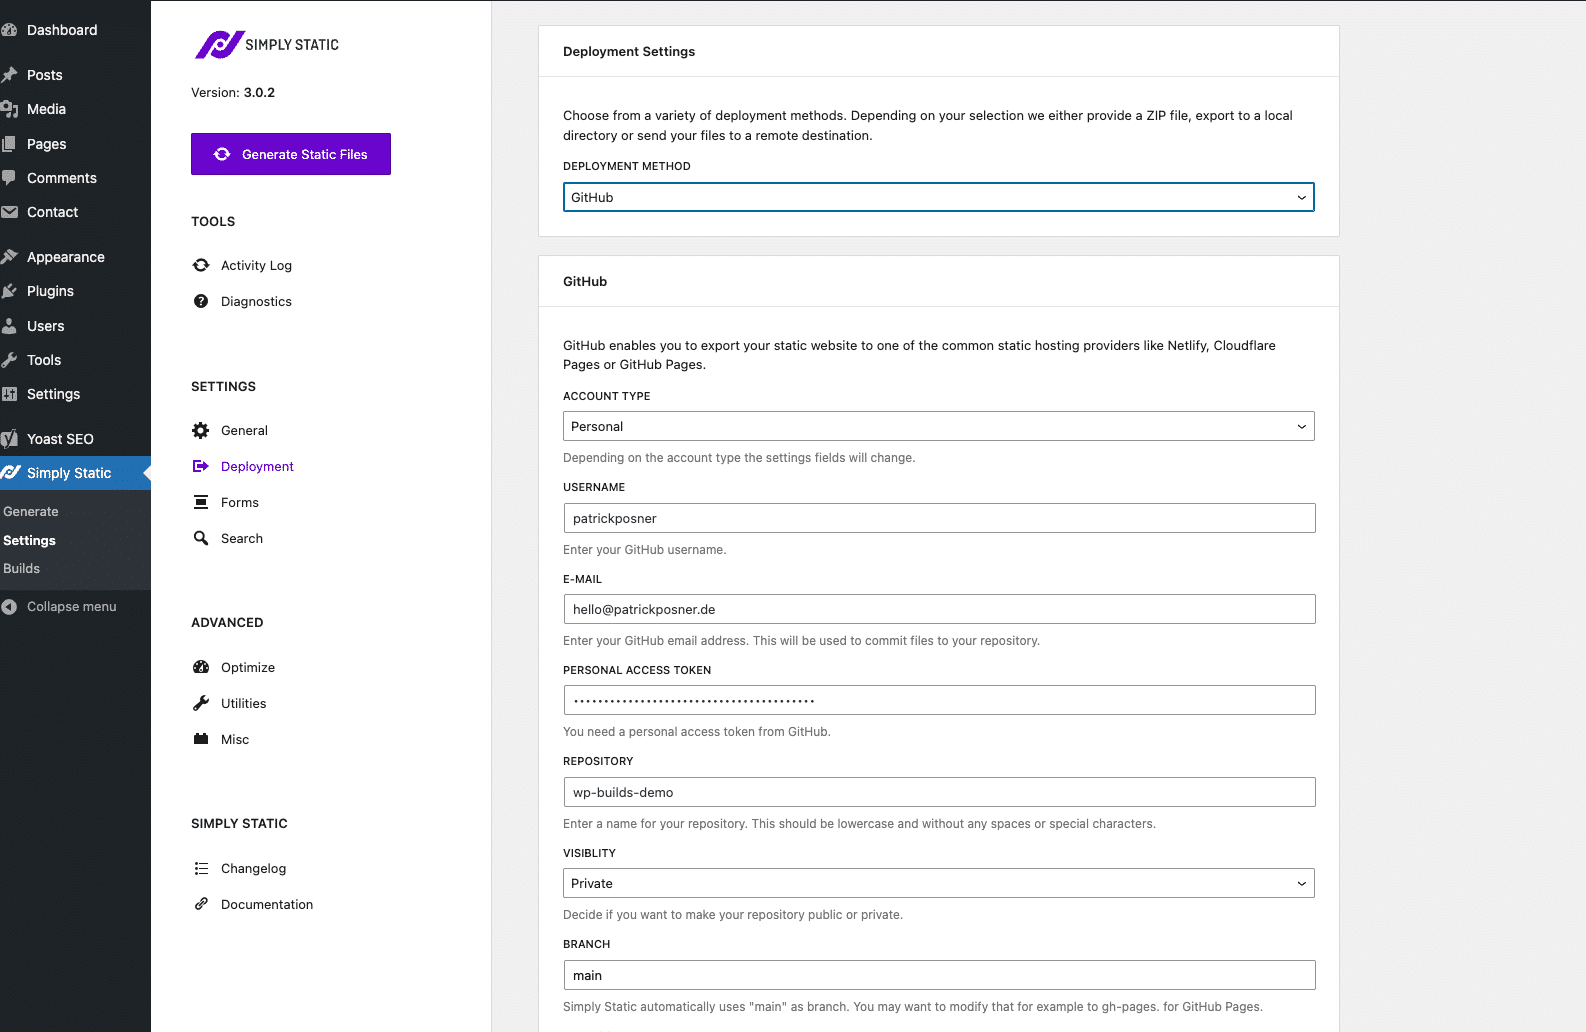
As shown in the GitHub integration documentation, you need to fill out the following setting fields:
- Account Type (Personal or organization)
- Username
- Personal Access Token
- RepositoryIn version control systems like GitHub, a repository is the most basic element, a folder where all the files for a parti…
Exporting files to GitHub
Now that we have everything configured, you can click on “Generate Static Files” in the top-left corner of the Simply Static Settings:
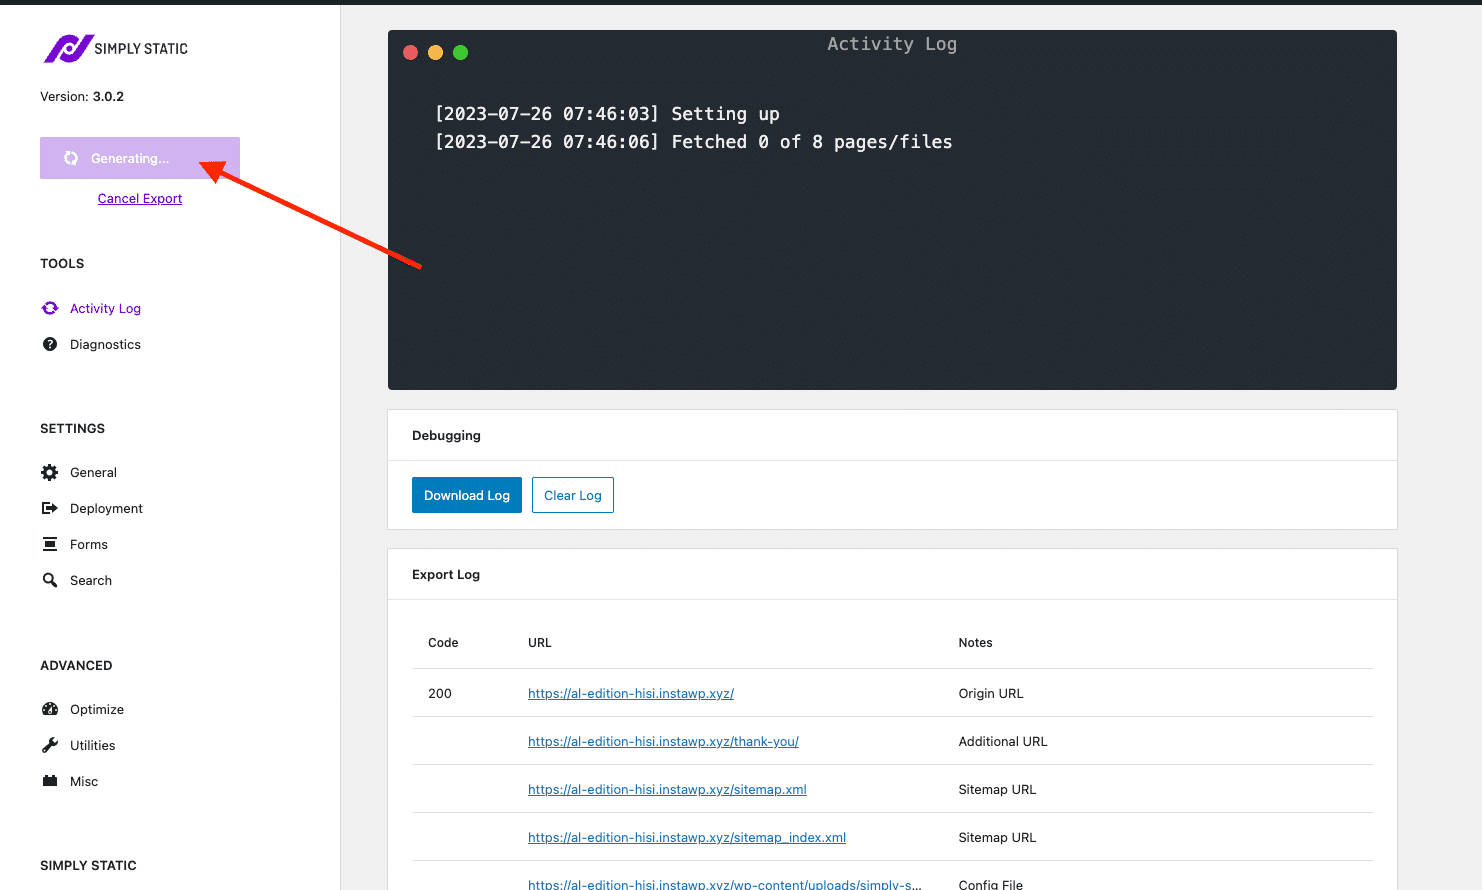
Finishing the export will take some time, but you can always view the current progress in Simply Static -> Settings -> Activity LogA record of all the actions and changes made within the Simply Static plugin. It helps you track what has been done..
Once the export is finished, all your static files will be exported to your configured GitHub repository. If you check your account, it should be similar to this:
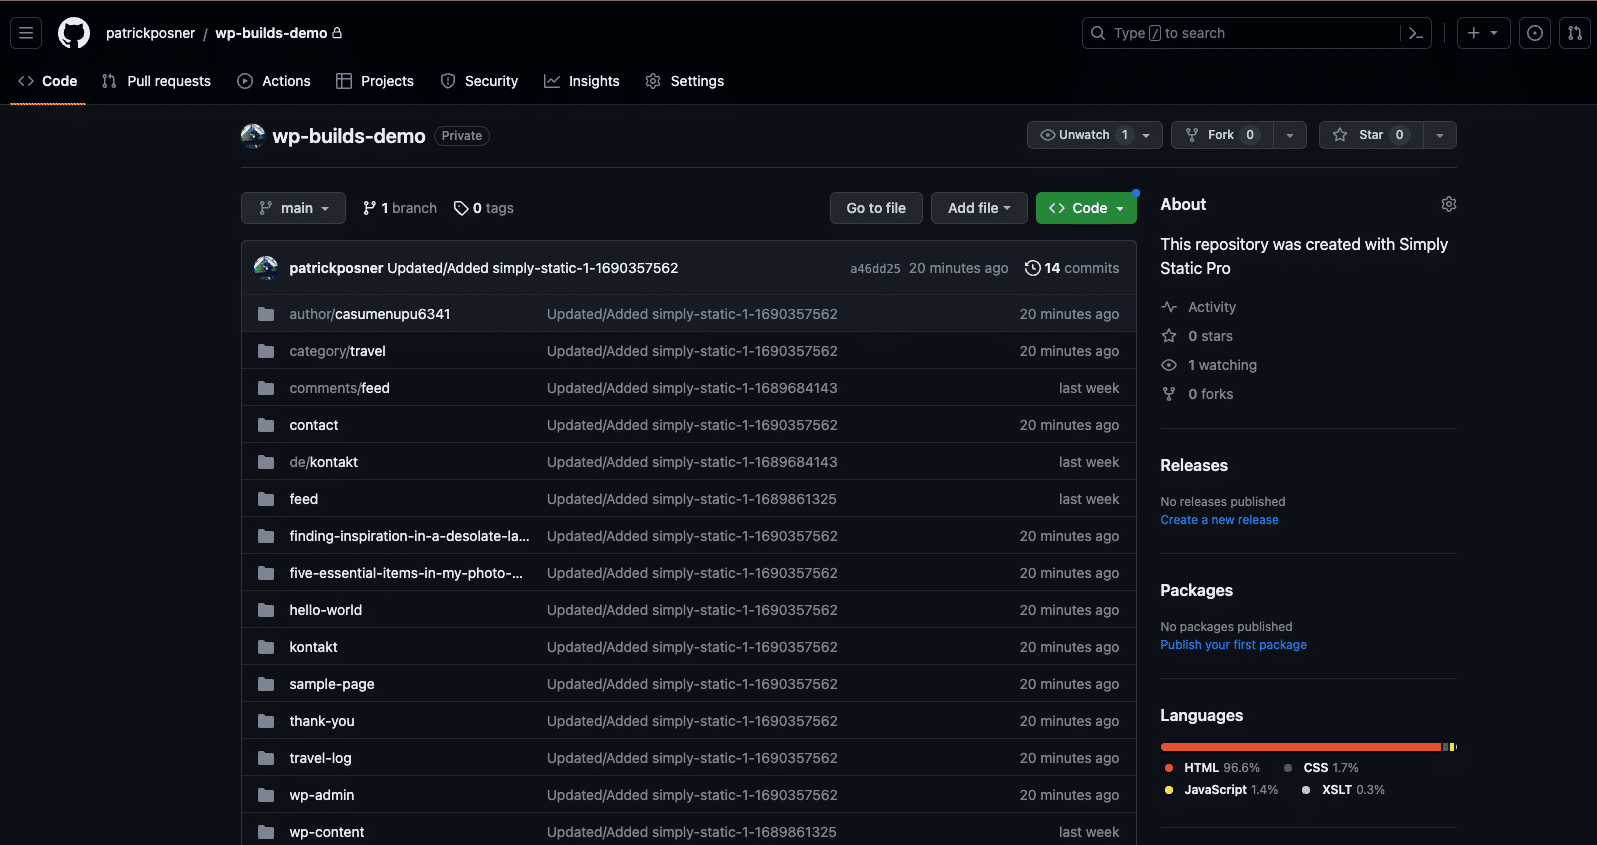
That’s all we needed to do within Simply Static and the GitHub integrationThe act of combining different systems, software, or functionalities to work together as a unified whole.. We can now get into Netlify.
Set up Netlify
The first step is creating an account at netlify.com. It’s free, and the free plan will be fine for most of your projects. You might want to check their pricing here if you have a big website.
I highly recommend using the “GitHub” login option, which will automatically synchronize your repositories with Netlify.
Within your dashboard, you can set up new projects as shown below:
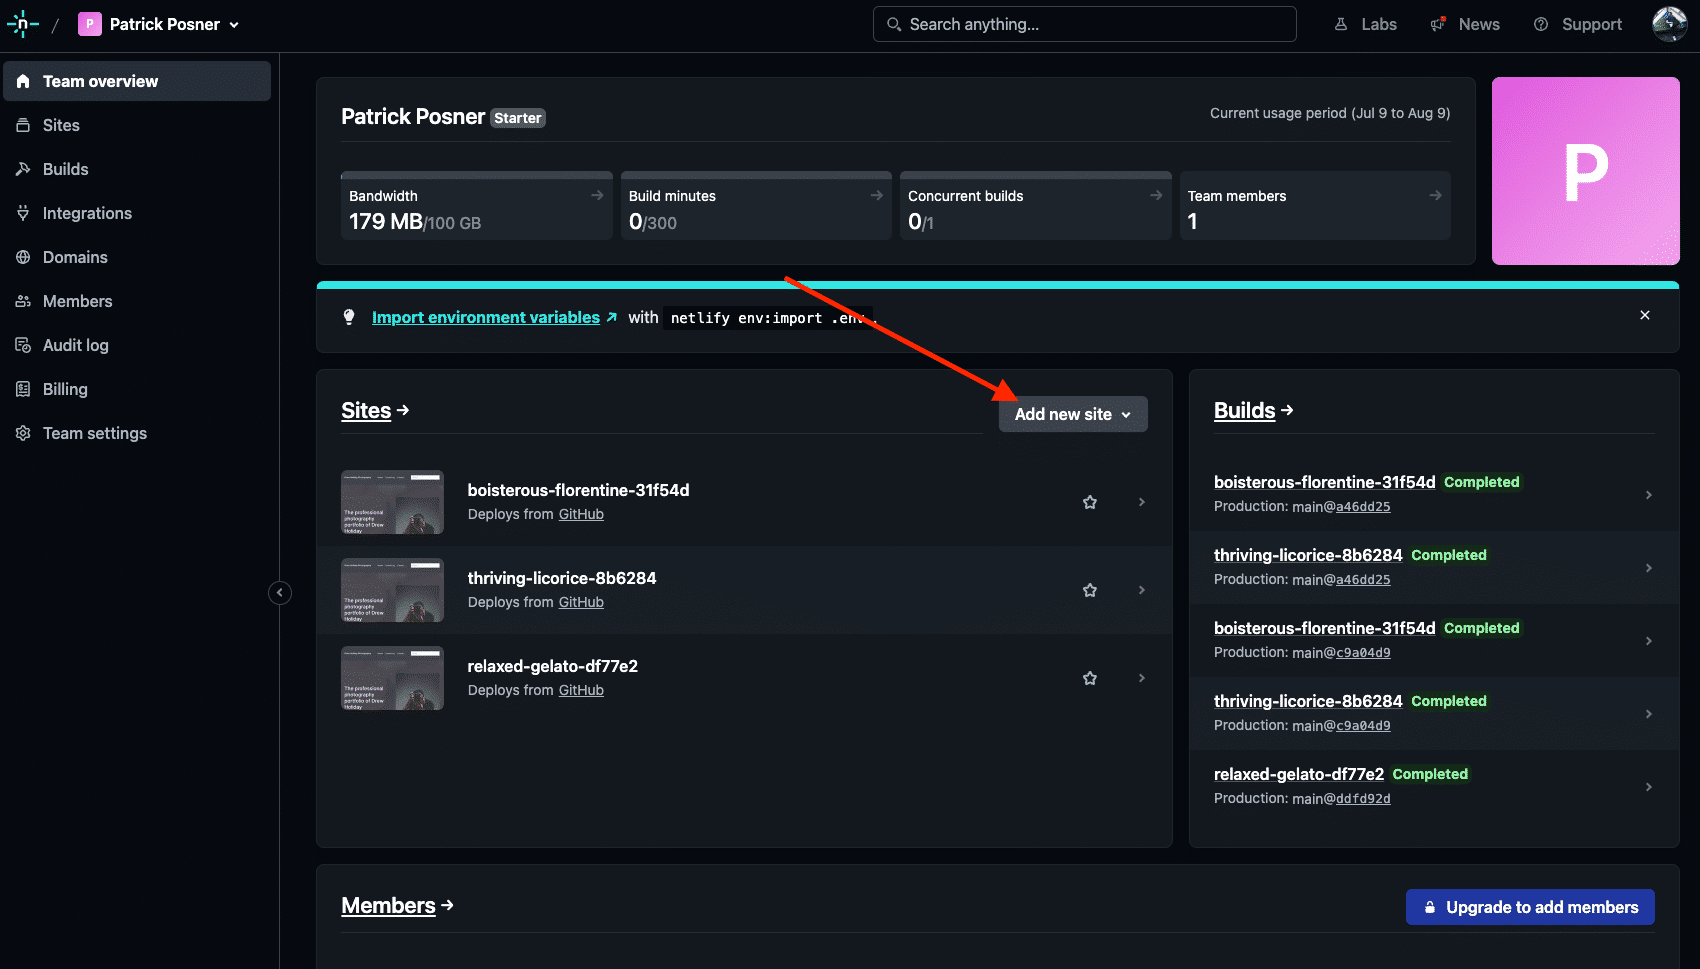
Create new site
Once you click on “Add new site” you get three options to choose from:
We choose “Import an existing project” as we have already exported our static site to GitHub.
Once you have clicked, you get to the details of setting up a new project:
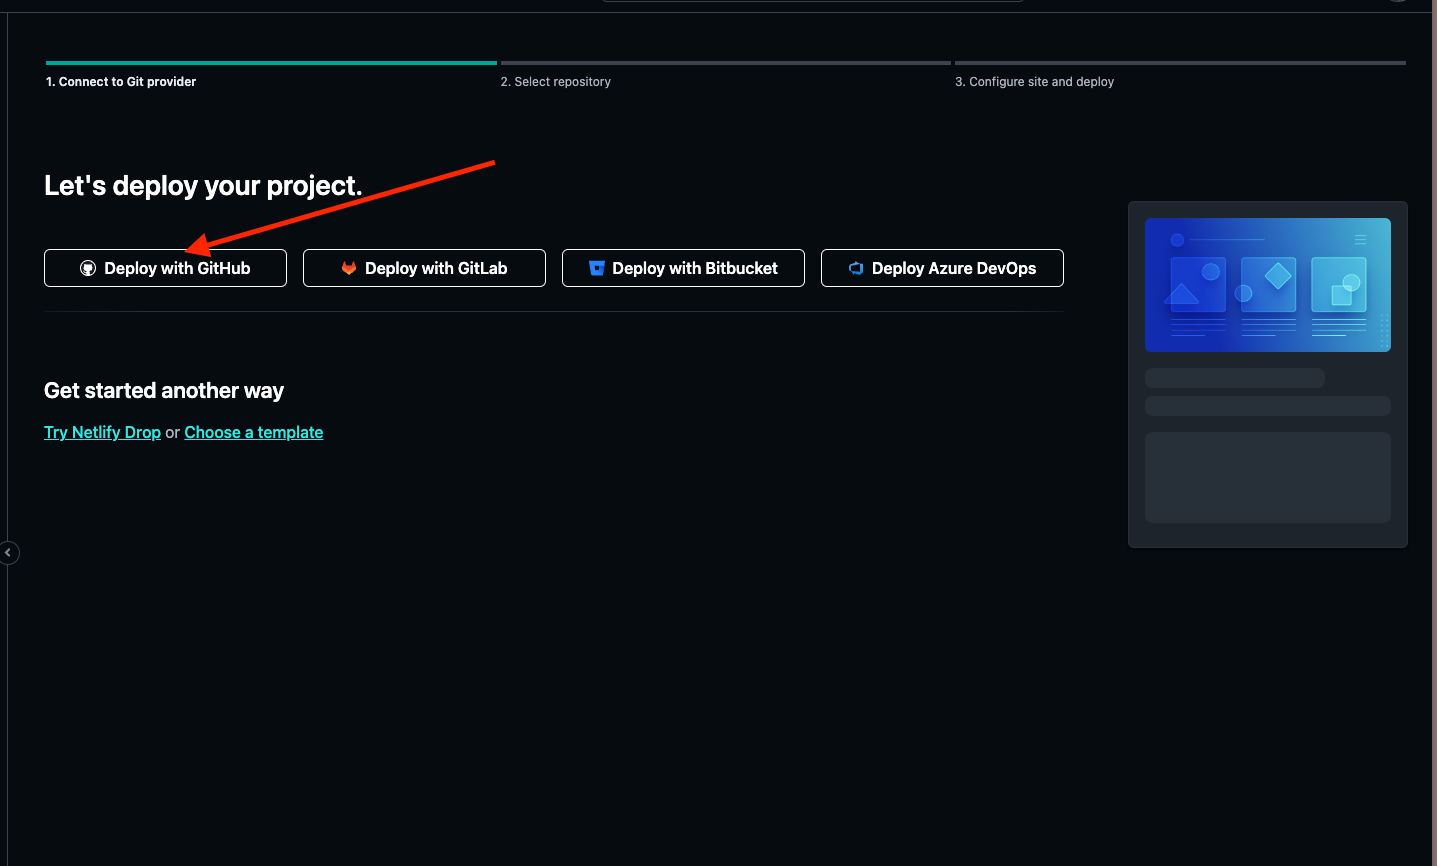
You choose GitHub as the provider in the first step. Once clicked, you get automatically redirect to the next step:
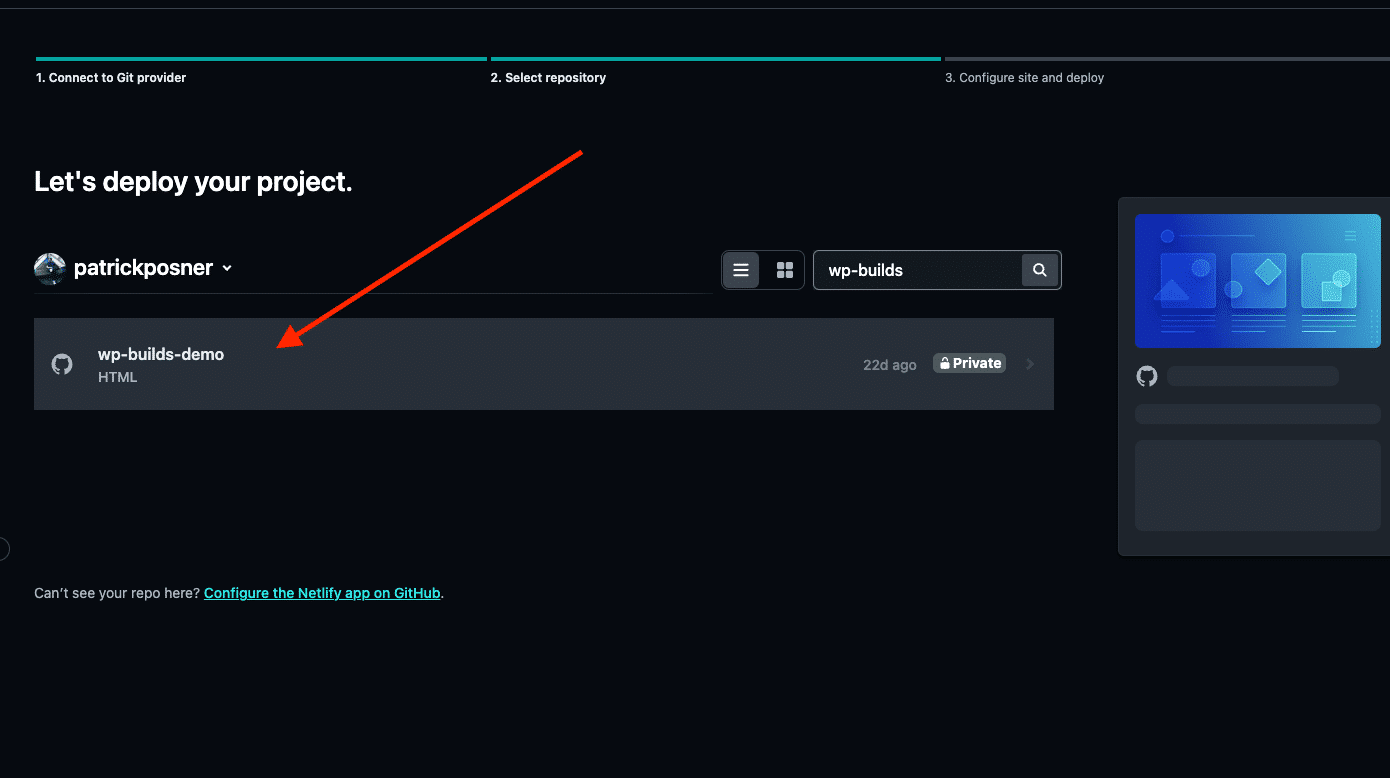
Here you select the name of the repository we created earlier. By doing that, Netlify will automatically update your static site each time something in the GitHub repository changes.
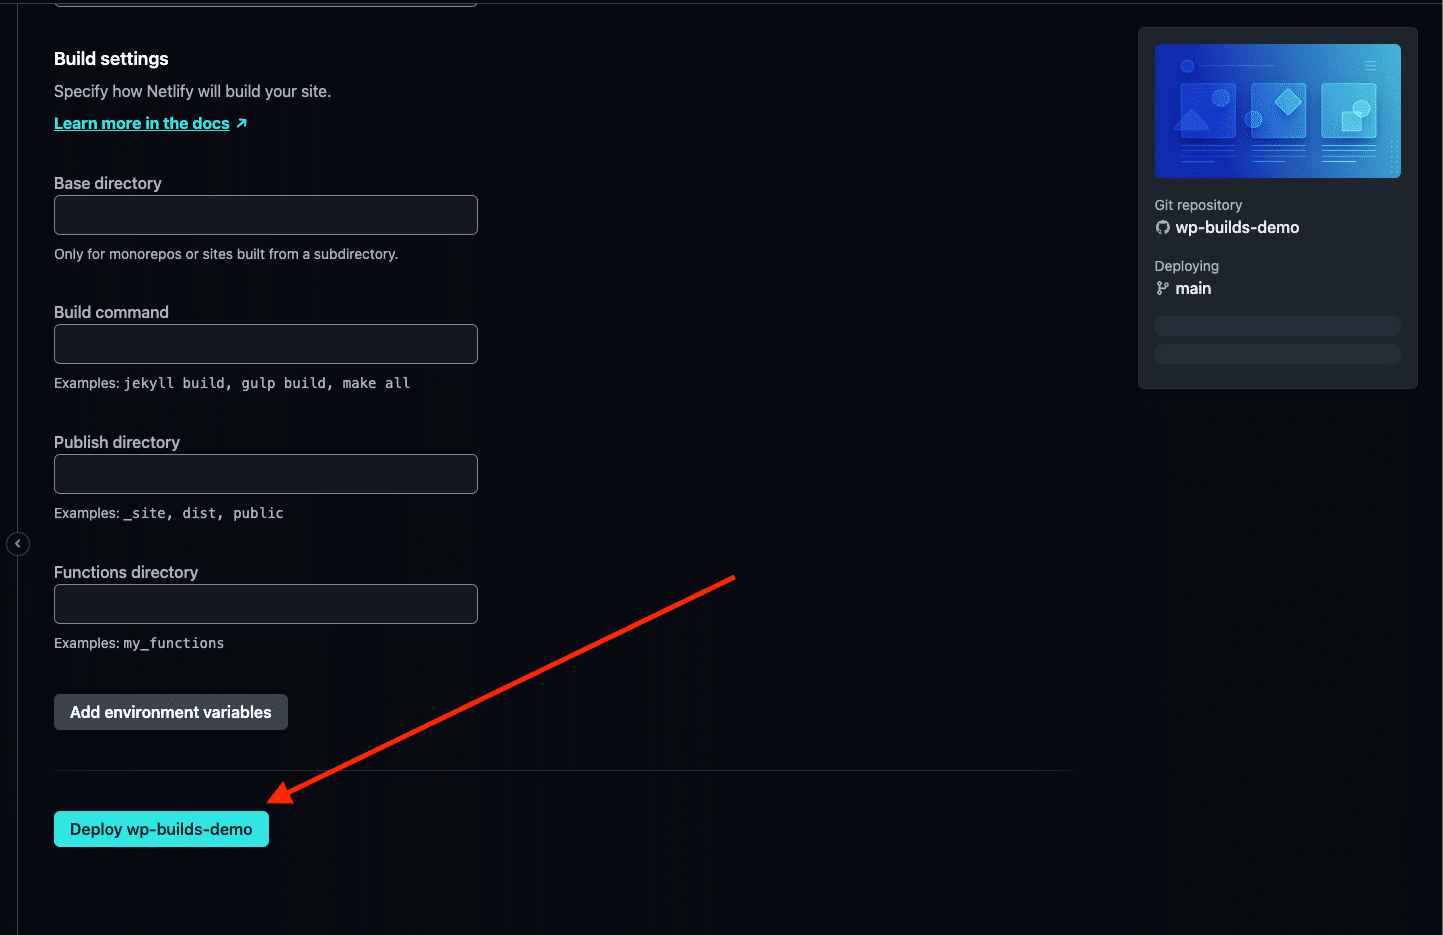
The last step offers only optional settings, so all that is left to do is click on “Deploy”:
Project overview
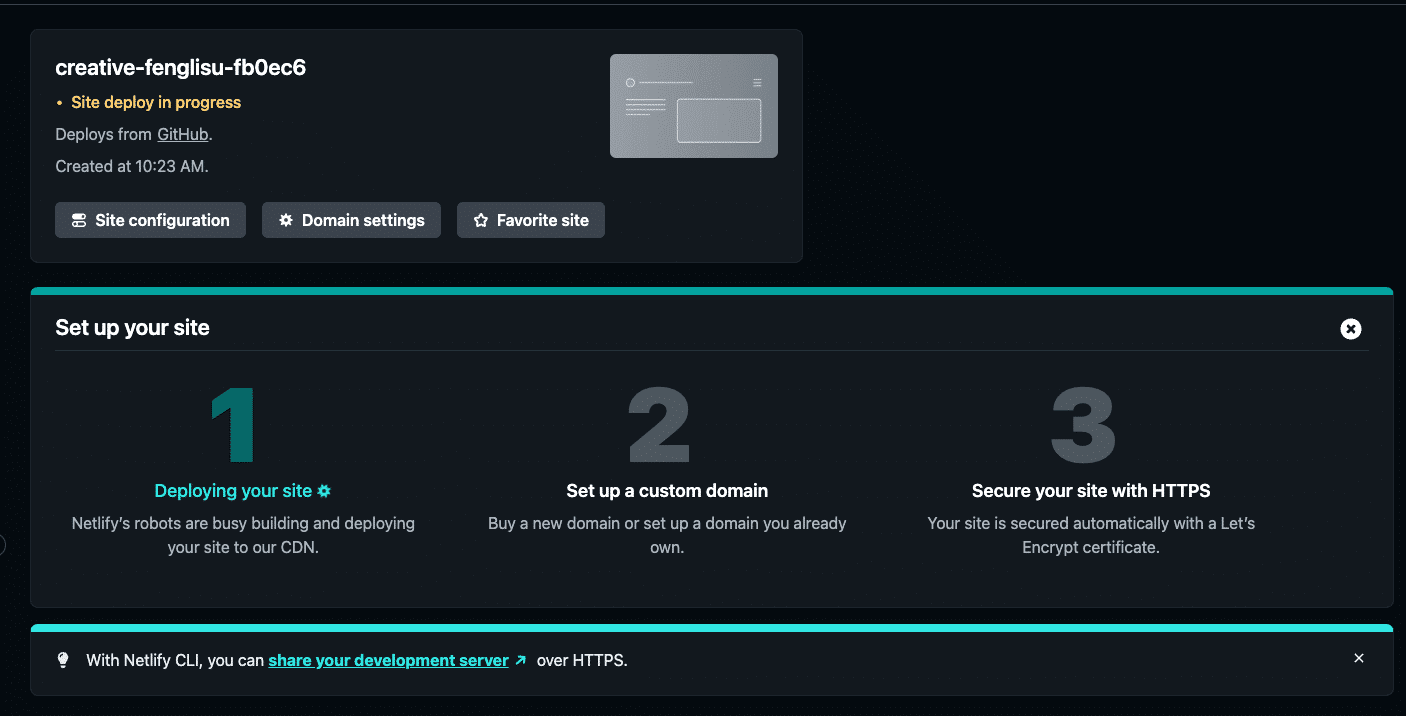
Deploying your website usually doesn’t take more than a couple of settings. You can see the progress at the top of the project view. In the screenshot below, you can see that the deployment is in progress:
A couple of seconds later, the deployment was finished, and it looks like this:
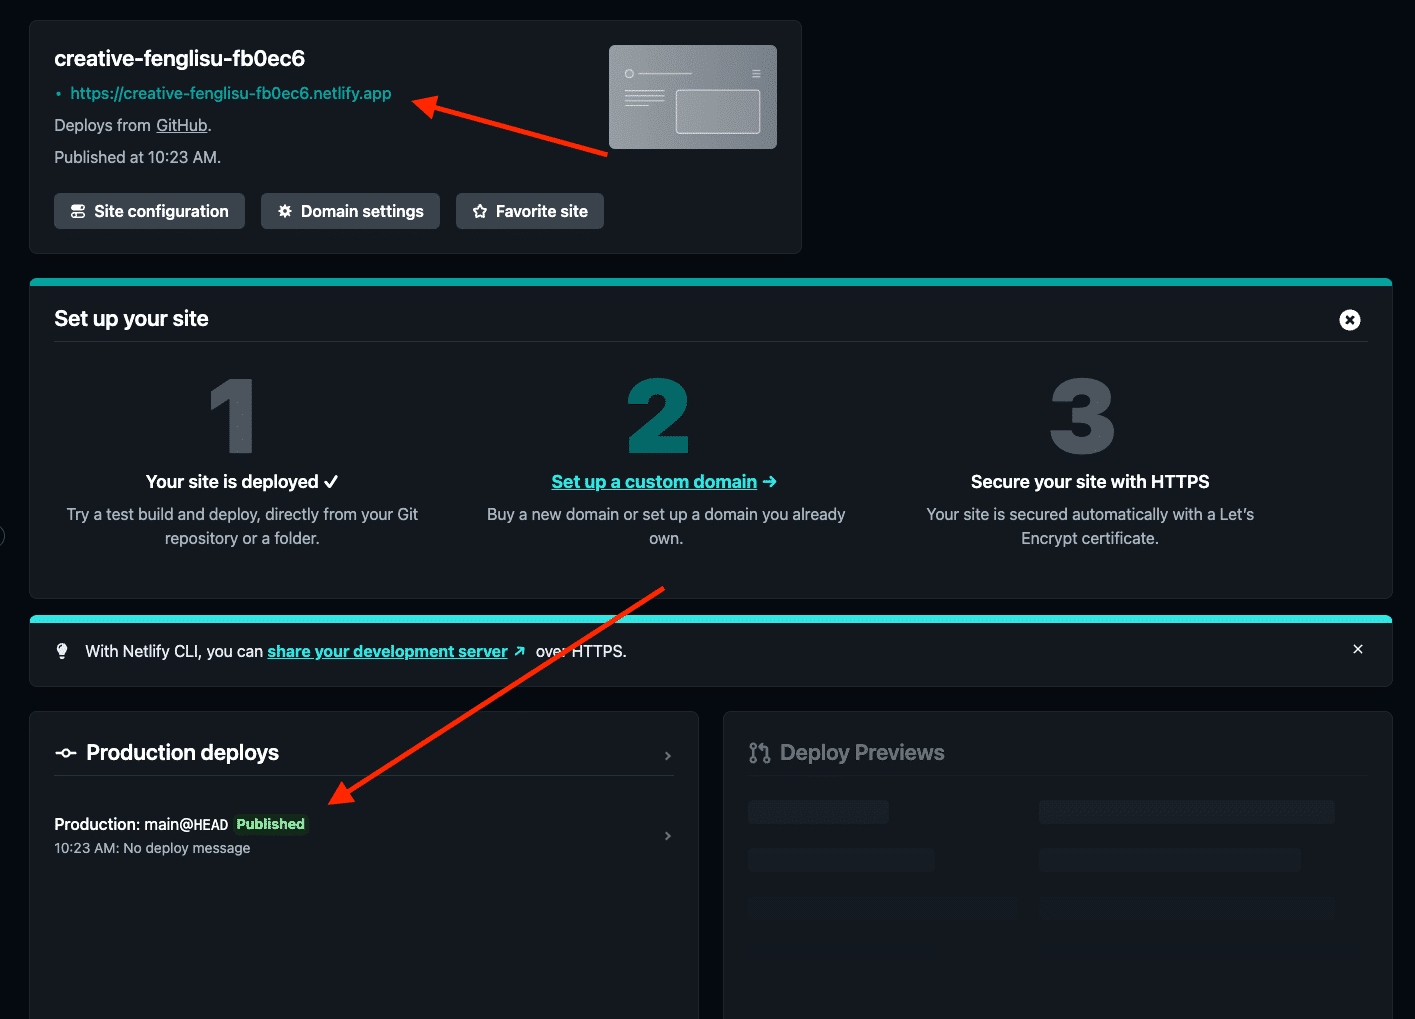
You get a temporary domain for your project. If you click on it, you see your static website, which is now hosted on Netlify.
Each time you push updates to the GitHub repository, it will automatically create a new “Deploy” (as shown in “Product Deploys”).
Custom Domains, Forms, and Analytics
That’s all you need to publish and update your static website with Simply Static to Netlify, but I collected some links from the Netlify documentation to make it easier to handle the next steps: