Simply Static allows exporting your static website to Kinsta Static Site Hosting.
Table of Contents
What is Kinsta Static Site Hosting?
Kinsta Static Site Hosting is a new and free static hosting service powered by Kinsta.
Kinsta is one of the most well-known WordPress hosting companies in the world and they recently expanded their offering to provide a solution dedicated to static sites.

GitHub
Preparing the GitHub Integration
To exportThe process of saving the files and data from your WordPress site to create a static site. your static website to CloudflareA company that provides services like security and website speed improvement. It acts as a protective layer between the … Pages, you need the GitHub integration from Simply Static. Create an account at github.com and configure your personal access token, as shown in the documentation here.
Once that’s done, you can switch back to WordPress and go to Simply Static -> Settings-> DeploymentThe act of pushing the static files generated by Simply Static to a live environment where users can access them. and select “GitHub” as a deployment option:
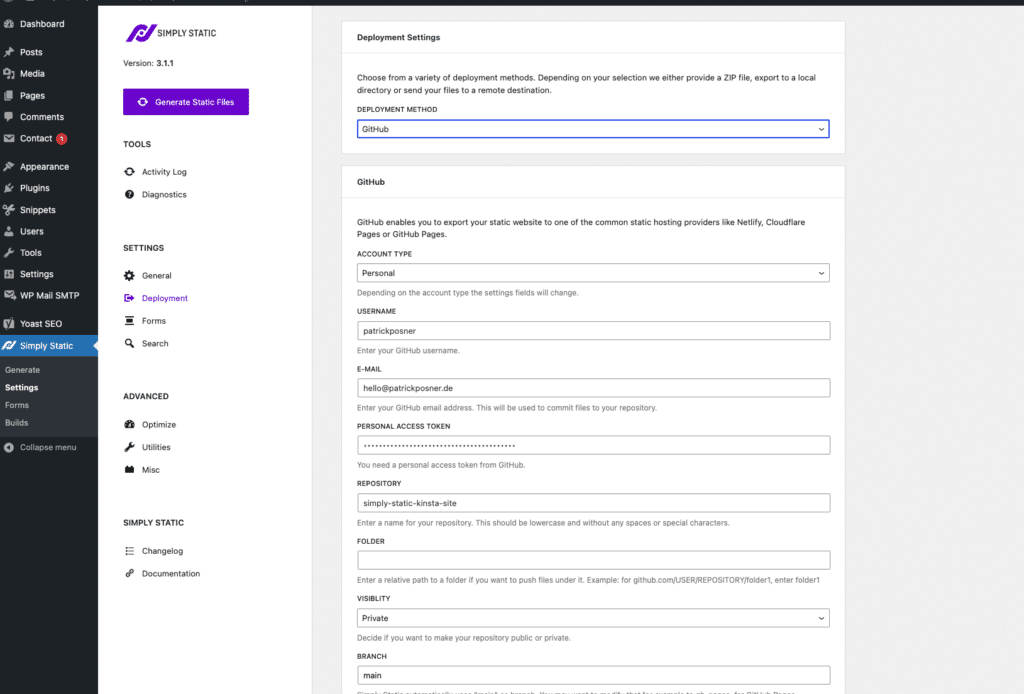
As shown in the GitHub integration documentation, you need to fill out the following setting fields:
- Account Type (Personal or organization)
- Username
- Personal Access Token
- RepositoryIn version control systems like GitHub, a repository is the most basic element, a folder where all the files for a parti…
Exporting files to GitHub
Now that we have everything configured, you can click on “Generate Static Files” in the top-left corner of the Simply Static Settings:
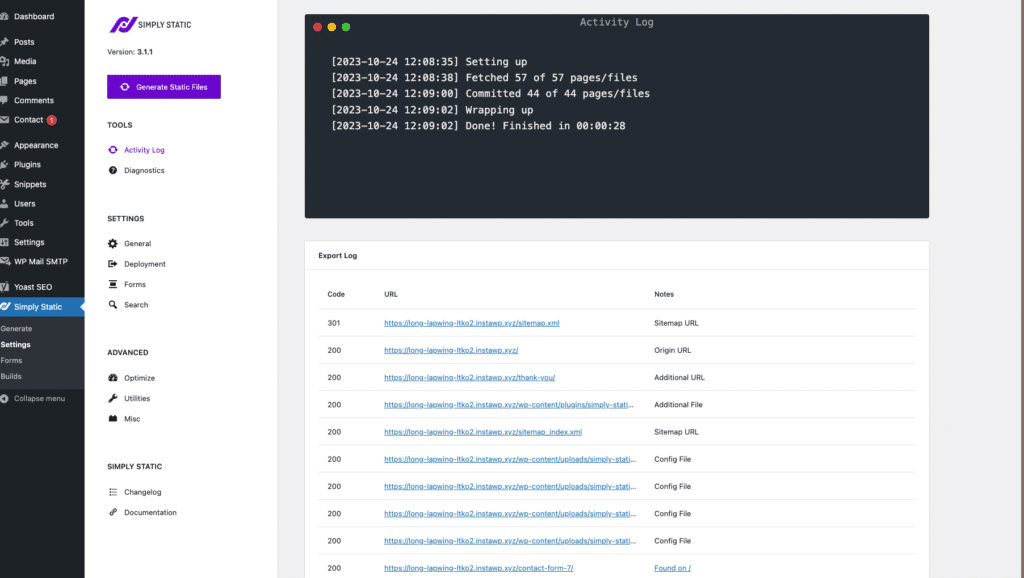
Finishing the export will take some time, but you can always view the current progress in Simply Static -> Settings -> Activity LogA record of all the actions and changes made within the Simply Static plugin. It helps you track what has been done..
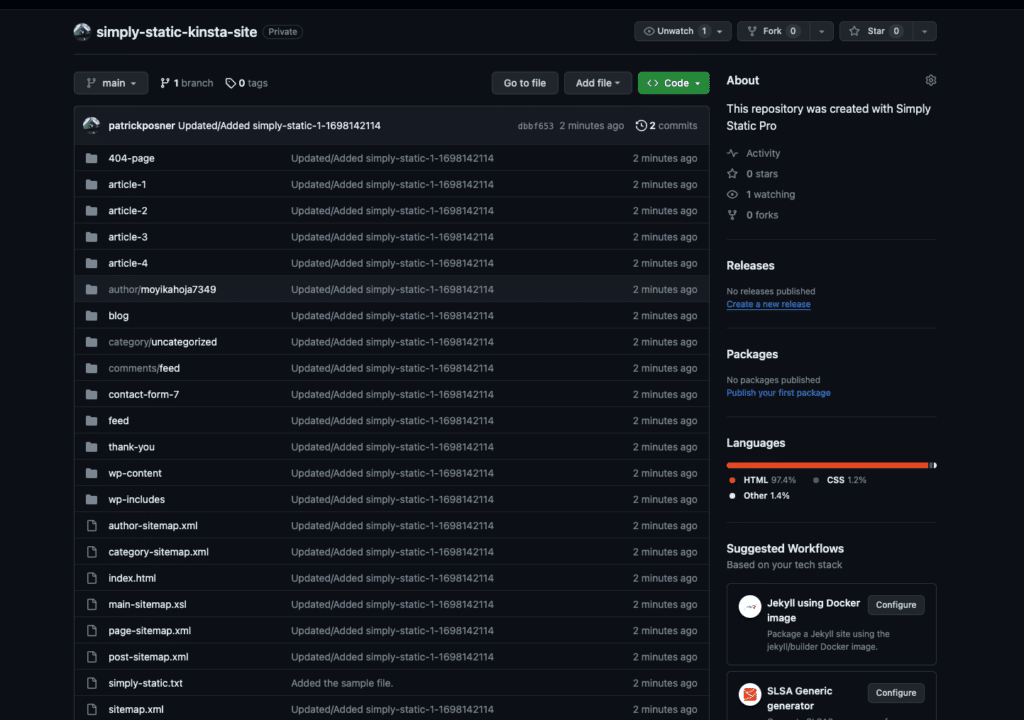
Once the export is finished, all your static files will be exported to your configured GitHubA web-based platform for version control and collaboration, allowing multiple people to work on projects at once. repository. If you check your account, it should be similar to this:
Getting Started with Kinsta Static Site Hosting
If you already have a Kinsta account, you can use that to log into the dashboard. If not, sign up here.
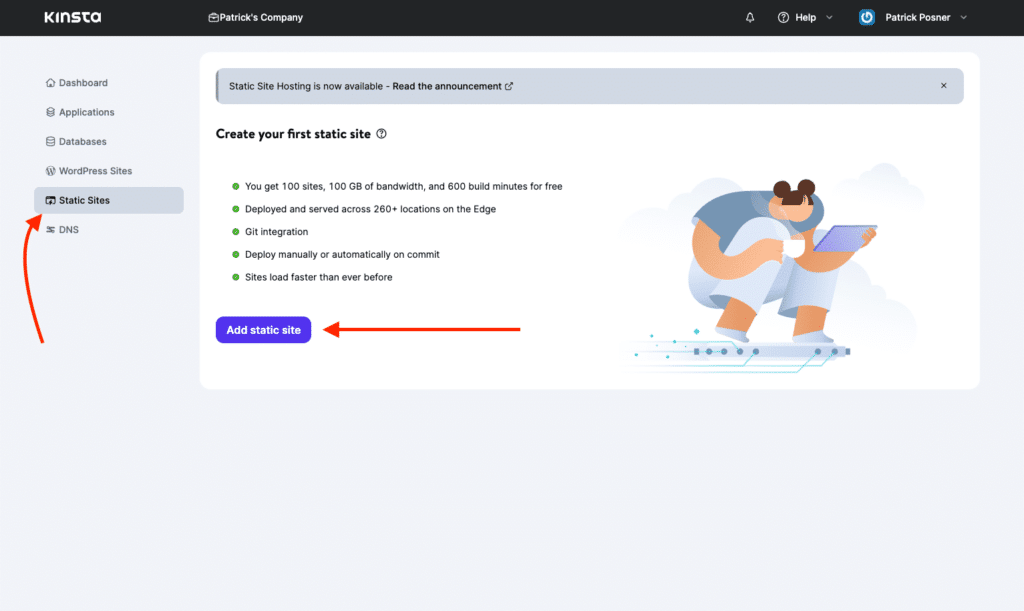
Once logged in, go to “Static Sites” and click on “Add Static Site”:
Connect GitHub account
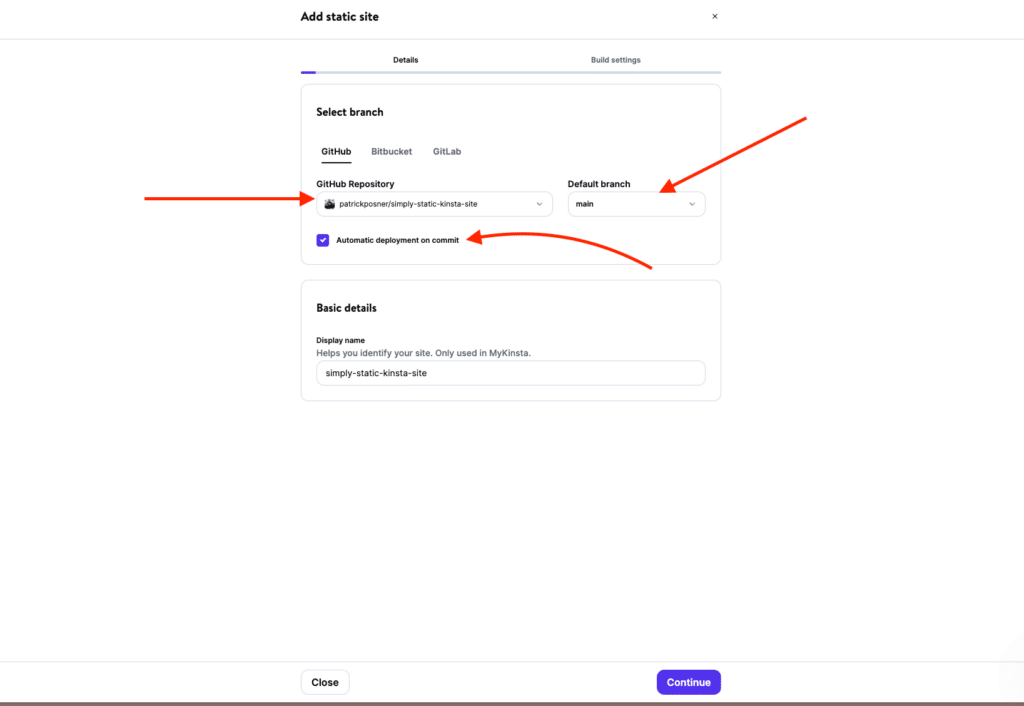
The first step is connecting your GitHub account and selecting the repository that you want to deploy as a static site.
The process is straightforward, you get redirected to GitHub, confirm your password, and everything is connected.
Select your repository and click on “Begin Setup”:
Repository
The repository that was created by running a static export with Simply Static and the GitHub integrationThe act of combining different systems, software, or functionalities to work together as a unified whole..
Automatic Deployment on commit
That one is optional, but recommend. Each time you run a static export from Simply Static, it will publish an update to your static site. If disabled, you need to push the update manually from the Kinsta dashboard.
Default Branch
Simply Static uses “main” branchIn version control systems like GitHub, a branch is a separate line of development that can be merged back into the main… as the default value. However, if you have configured a different branch, configure it here.
Build Settings
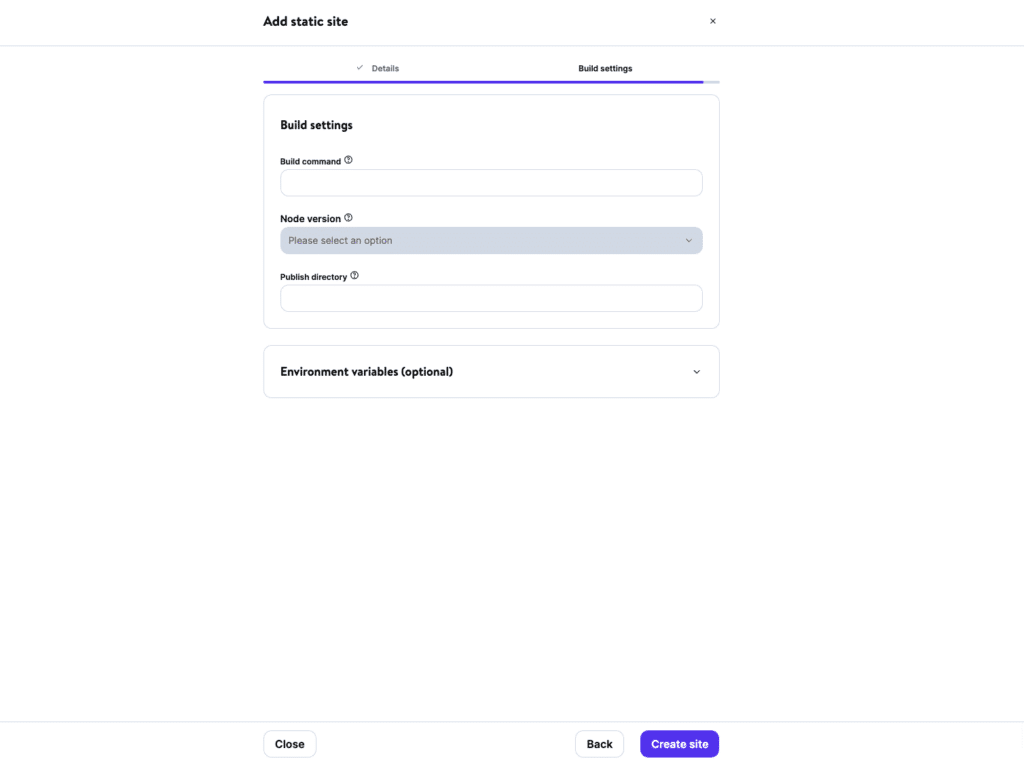
In the next step, you can configure additional build settings and set environment variables.
There is nothing to do with Simply Static here, so we can leave it as is.
Deployment finished
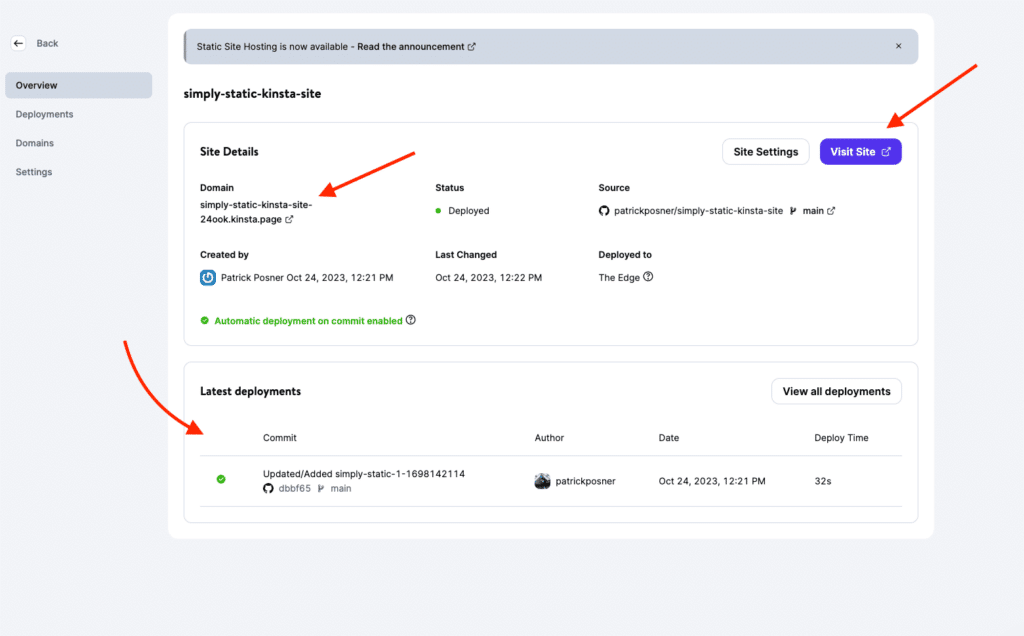
Depending on the size of your website, this may take a couple of seconds, but once finished, you get redirected to the project overview page:
Domain
You get a temporary domain for your static site. If you want to map it to your domain, look at the “Domains” menu item in the left navigation. There is also a button to directly preview the result in the top-right corner of the overview details section.
Latest Deployments
As we activated the automatic deployment setting, each time we run an export with Simply Static, it will automatically update the static site for you. In the section below the details, you can see exactly how long the deployment took and when it was executed the last time.