Table of Contents
Besides the BunnyCDN integrationThe act of combining different systems, software, or functionalities to work together as a unified whole., almost all require GitHubA web-based platform for version control and collaboration, allowing multiple people to work on projects at once. configured for deploymentThe act of pushing the static files generated by Simply Static to a live environment where users can access them.. While this is fine for more technical users, it may be a problem for users who don’t. The new zip file hosting integration powered by Tiiny.host is here to help.
Several ways to host your static WordPress website are available, with pros and cons. Let’s make a quick comparison of which hosting options are available right now in Simply Static Pro:
Try static WordPress hosting free for 7 days
No credit card. No maintenance. No headaches.
What is Tiiny.host?
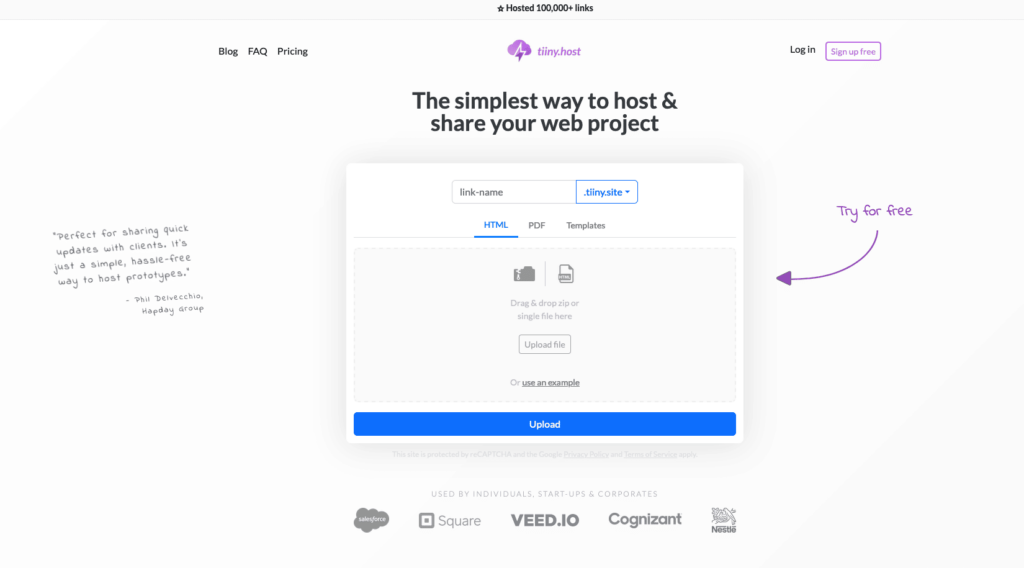
Tiiny Host is the simplest way to host & share your web project. If you check out their website, you will see that you only need to provide a ZIP file to deploy your website in seconds. You get a domain, or you can use your own. You can password-protect your static website directly from the dashboard and more – all optimized to be as simple as possible.
Create a ZIP with Simply Static
Before we explore the dashboard’s features, let us create a ZIP file that contains the static files from your WordPress website. We’ll be using the free version of Simply Static for now as we cover the more advanced integration with Tiiny.host later in this tutorial.
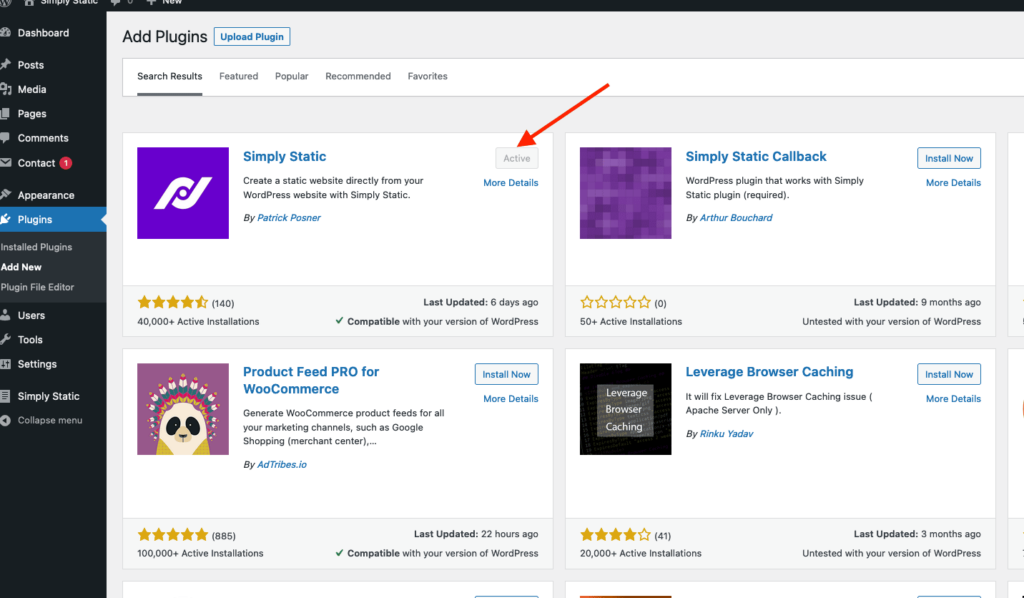
Go to Plugins -> Add New and search for Simply Static. Download and activate it and move to Simply Static -> Settings.
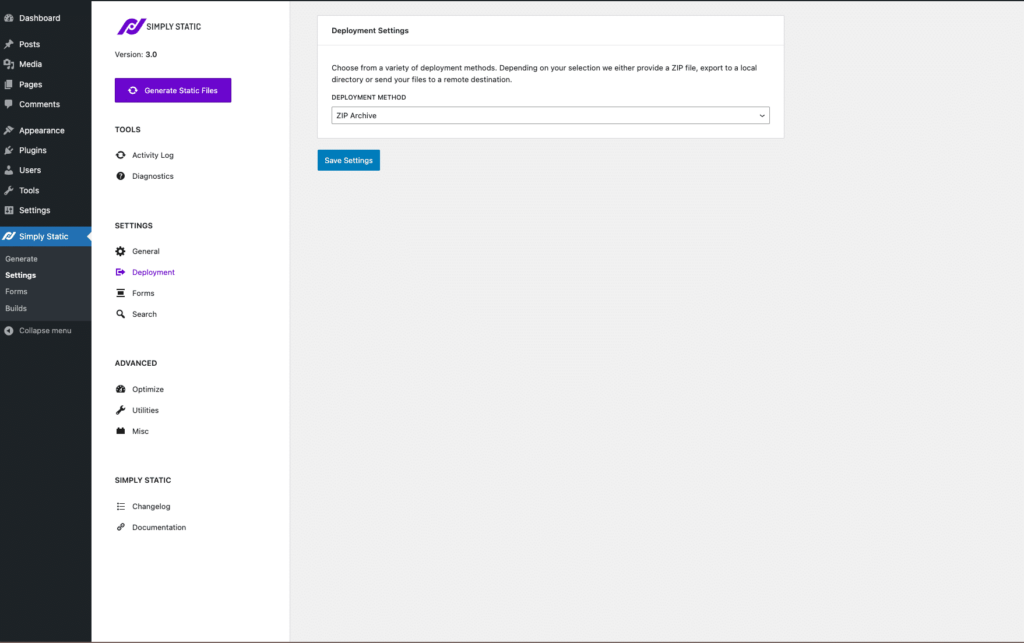
As the delivery method select “ZIP Archive”:
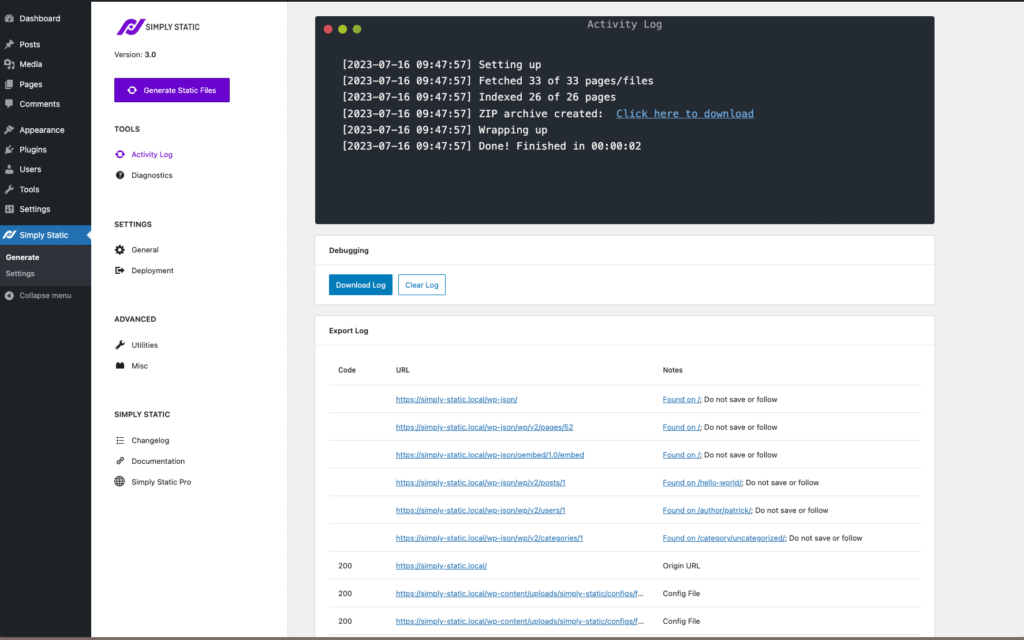
Go to Simply Static -> Generate and click the button “Generate Static files”. Depending on the size of your website, this will take a couple of minutes. Once finished, you can download the ZIP file from the link provided to you:
Upload your ZIP to Tiiny.host
Once you log in to Tiiny.host, you will be redirected to your dashboard. Here you can upload the ZIP file created by Simply Static now.
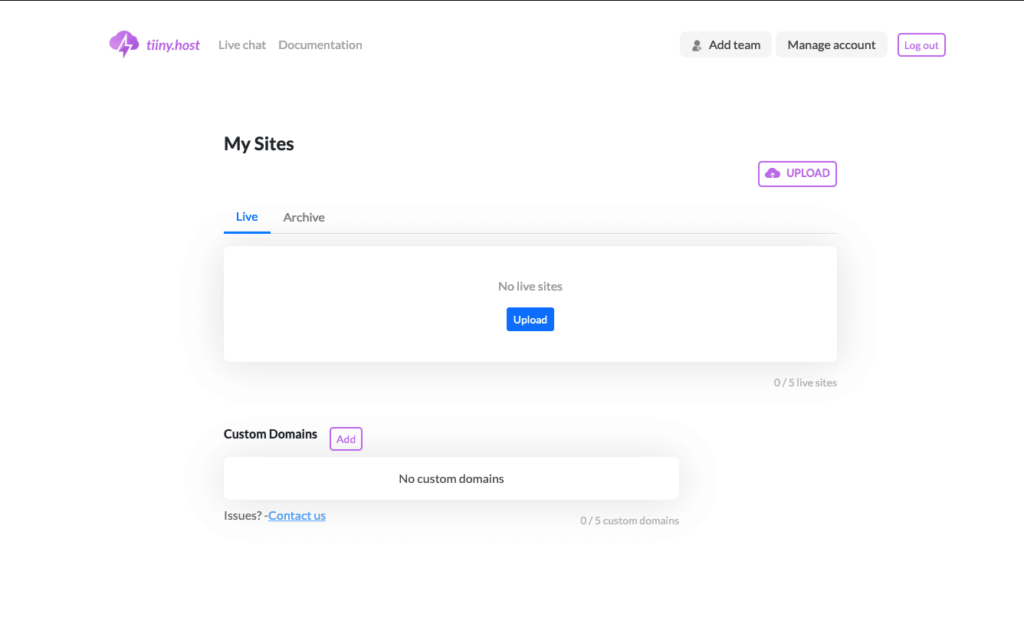
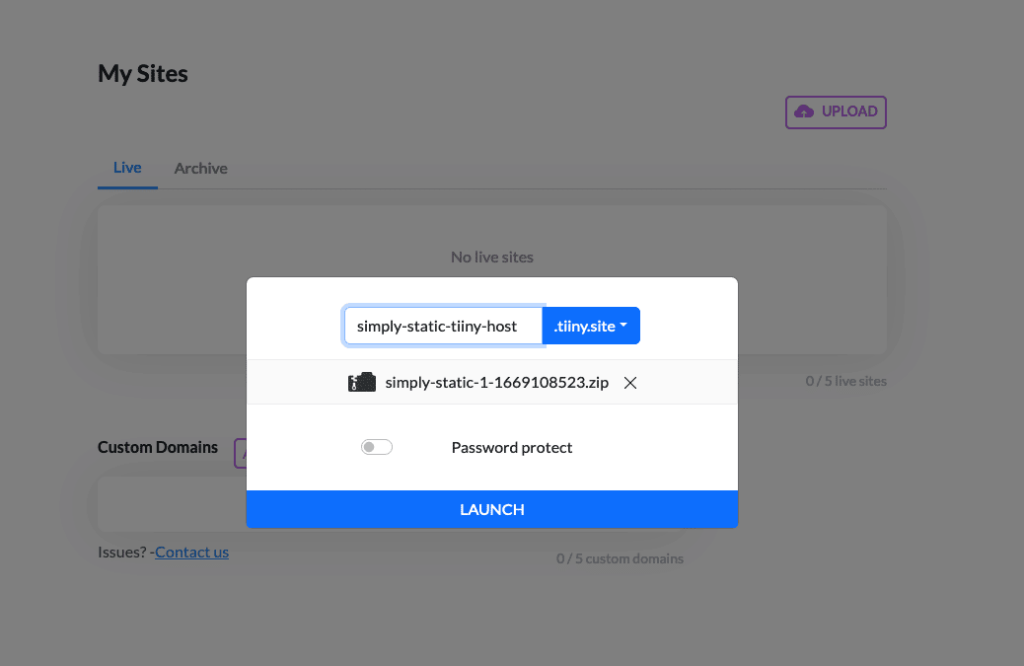
You can choose a subdomain name for your static website if you haven’t attached a custom domain. Choose a name and click on “Launch”:
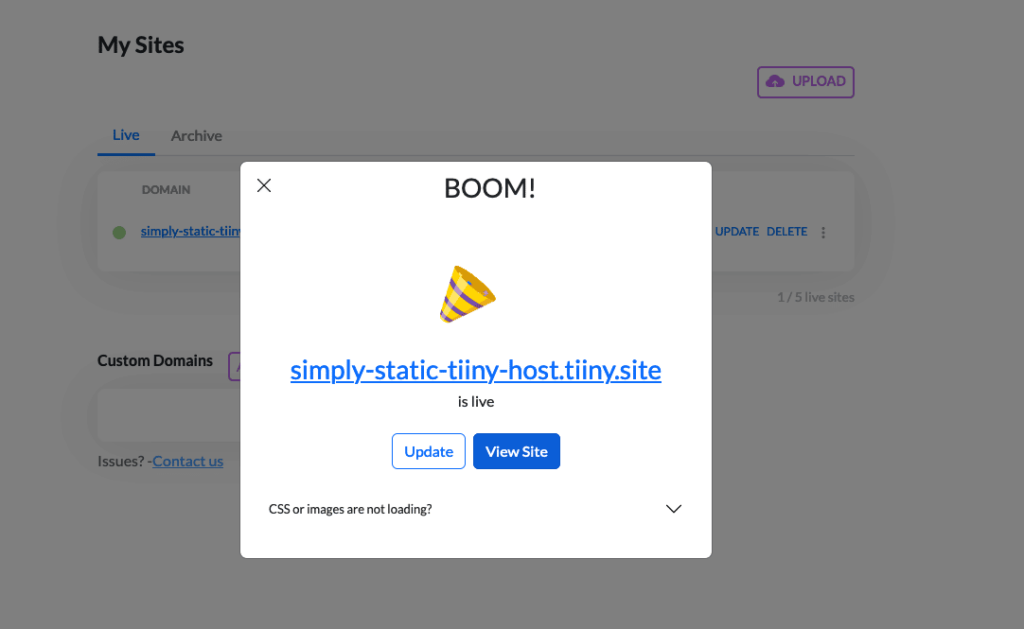
Once the deployment is finished, you get a confirmation on your screen, which looks like this:
We don’t cover all of the other features, like adding a custom domain or editing your website from the dashboard, but if you need more information, feel free to check out the Tiiny.host documentation.
Automate the process with Simply Static Pro
While you can use the free version of Simply Static with Tiiny.host, the process itself requires manual work. Here is where Simply Static Pro comes in with the new zip file hosting integration.
Configure the Tiiny.host integration
Go to Simply Static -> Settings -> Deployment -> Tiiny.host. There isn’t much to configure as we auto-fill the e-mail address with the one you have used to activate Simply Static Pro – so you need to decide if you want to use a subdomain or a custom domain and whether or not you want to password-protect your static website:
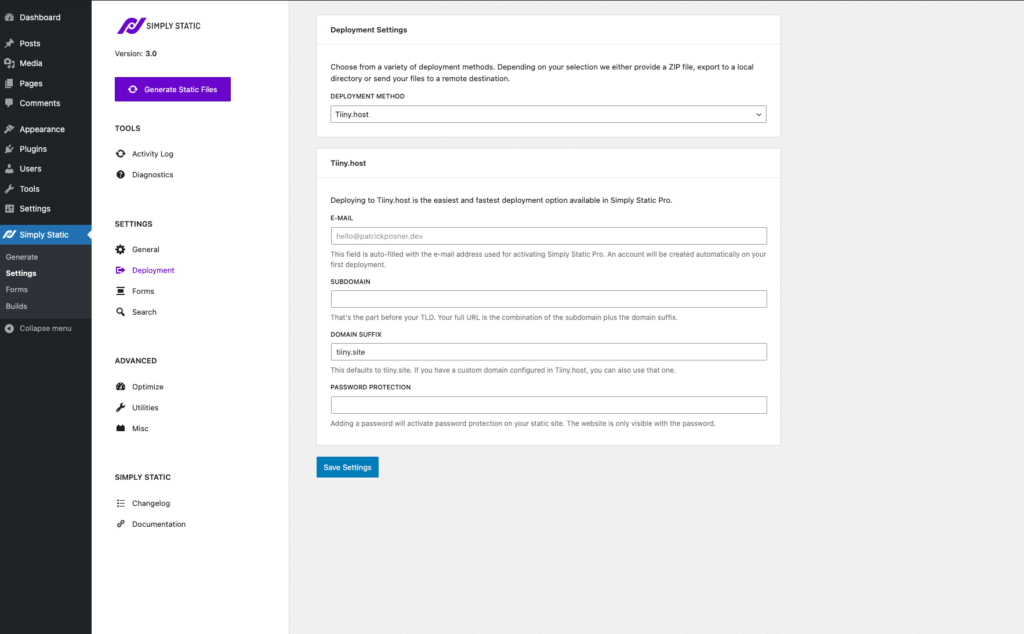
Save your settings, and that’s it – you are ready to deploy your static website automatically to Tiiny.host.
Deploy to Tiiny.host
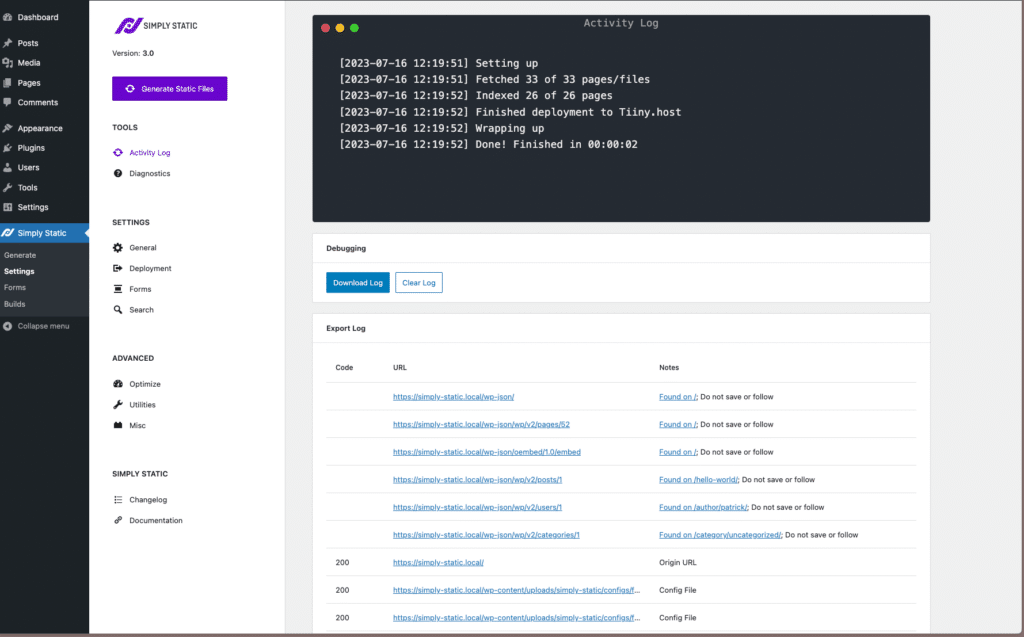
Go to Simply Static -> Generate and click on “Generate Static Files” and you will see the progress of the deployment to Tiiny.host within the log:
Benefits of using the Tiiny.host integration
- it’s the fastest deployment option available
- it’s the easiest configurationThe setup process where you specify the settings and options for how a software or system will operate.
- free accounts created via Simply Static Pro don’t expire (as compared to the 7-day free trial)
- the pricing is awesome (free for small sites, $13 / month for larger or multiple websites)
What are you waiting for? Set up the configuration and start using zip file hosting by Tiiny.host!
