Simply Static allows exporting your static website to Digital Ocean SpacesA scalable and secure object storage service that works similarly to Amazon AWS S3.. This can be a good choice if you are already a user of the Digital Ocean platform, and you might also manage your domains there.
Table of Contents
What is Digital Ocean?
Digital Ocean is an all-in-one deploymentThe act of pushing the static files generated by Simply Static to a live environment where users can access them. and virtual server platform similar to Amazon AWSAmazon Web Services (AWS) is a cloud computing platform that offers various services, including storage solutions like S…. You can do almost everything with it: host databases, run a Kubernetes cluster, deploy static sites, and so much more.
Setup a Space
Before we go into the required configurations within Simply Static, we need to set some things up within Digital Ocean first. To deploy a static site with Digital Ocean, you need “Spaces”, these are comparable to Amazon AWS S3Amazon Web Services (AWS) is a cloud computing platform that offers various services, including storage solutions like S… buckets – a flat (and cheap) online storage to host files, but without connection to a database and without the ability to run PHPA widely-used programming language especially suited for web development. (or any other server-side code).
Create space
Log in to your Digital Ocean dashboard and navigate to “Spaces” and click on “Create Space”:
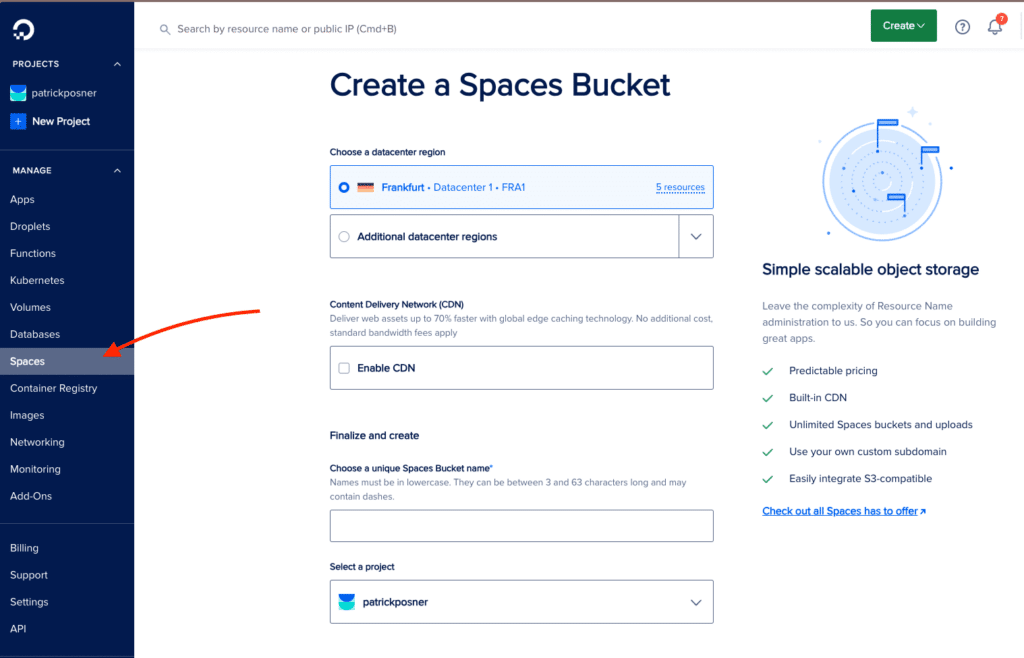
We have to decide a couple of things within the setup:
Datacenter
Choose the data center closest to you. Digital Ocean will automatically recommend some regions, but you can always choose one based on your preferences.
CDNStands for Content Delivery Network. It’s a system of distributed servers that deliver web content quickly to users base…
This is optional but highly recommend for static sites. By enabling the CDN option, DO will automatically handle caching and delivery of your static website assets without additional configurations.
BucketIn the context of Amazon AWS S3, a bucket is a storage location where your static files can be uploaded. Name
This one is important as we need it to connect Simply Static to Digital Ocean later.
Use a recognizable name. You can change the domain later.
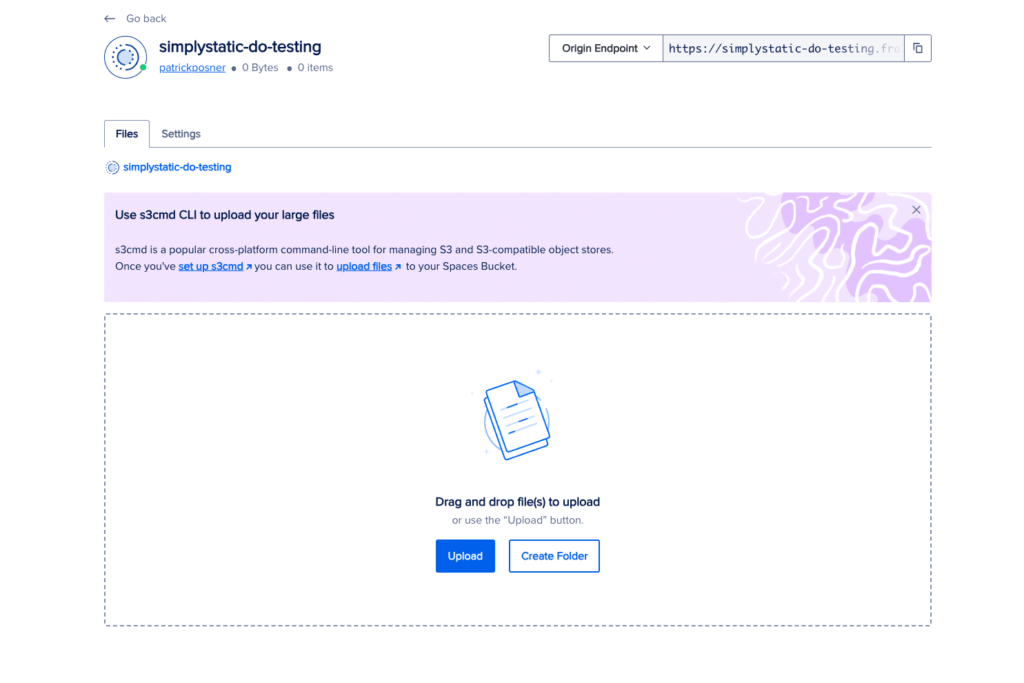
Click on “Create Space”, and you should see an empty directoryA folder in a computer’s file system used for storing files and other directories. with the configured bucket name:
File Listing
Click on “Settings” and “Edit File Listing”:
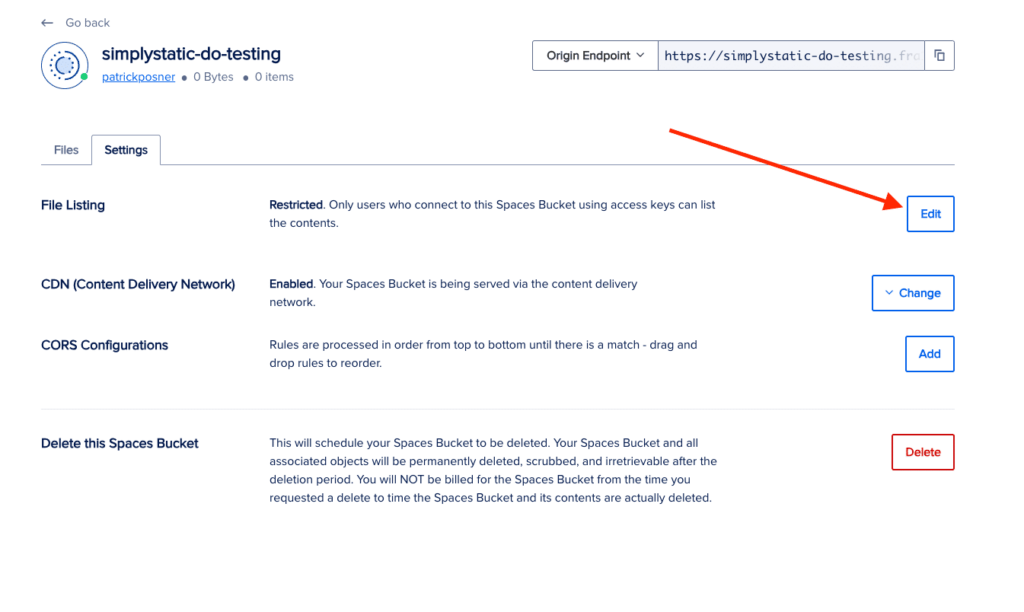
In the following dialogue, we set “File Listing” to “Enable File Listing”. Without that setting, your static site will only be visible with authenticated requests done via the Digital Ocean API and not publicly via an URL.
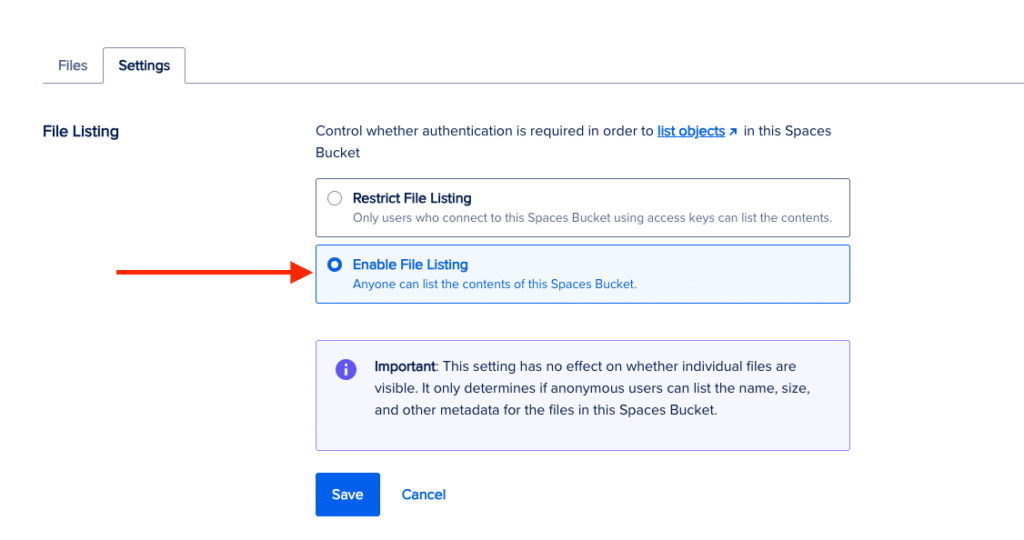
That’s it for the bucket configurationThe setup process where you specify the settings and options for how a software or system will operate.. Now we move on to creating an API keyA unique code that allows different software applications to communicate with each other. It’s used for identification a… for the connection.
Create API Key
In your Digital Ocean dashboard, go to “API, ” switch the tab to “Spaces Keys” and create a new key.
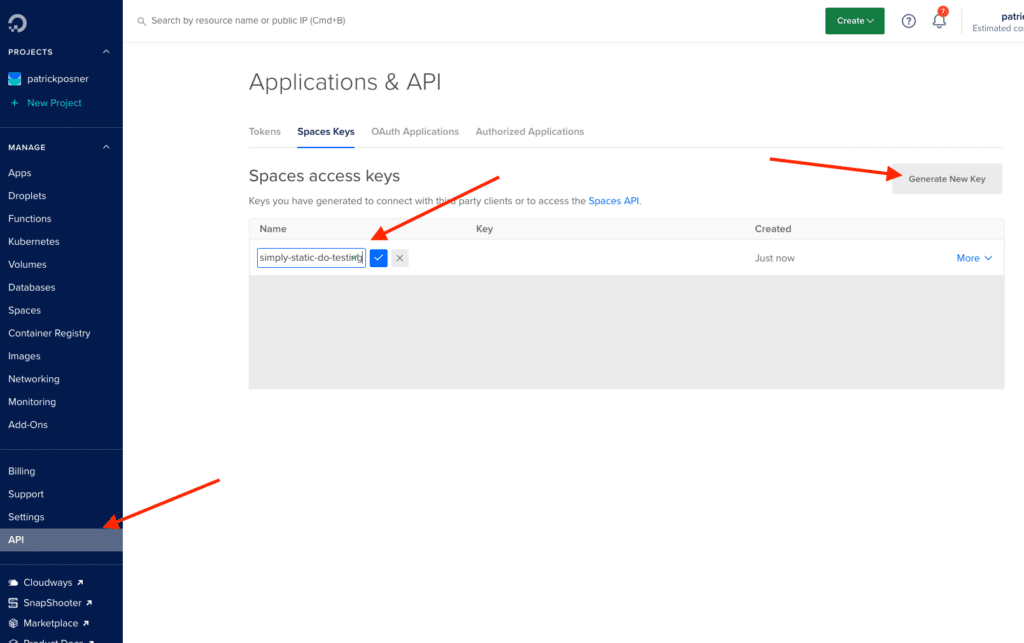
Once you have clicked on the blue checkmark next to the name, you can copy your API key and API secret.
Connect with Simply Static
Now we have everything in place to connect Digital Ocean and Simply Static. Go back to your WordPress installation and go to Simply Static -> Settings -> Deployment and choose “Digital Ocean Spaces” as a deployment option.
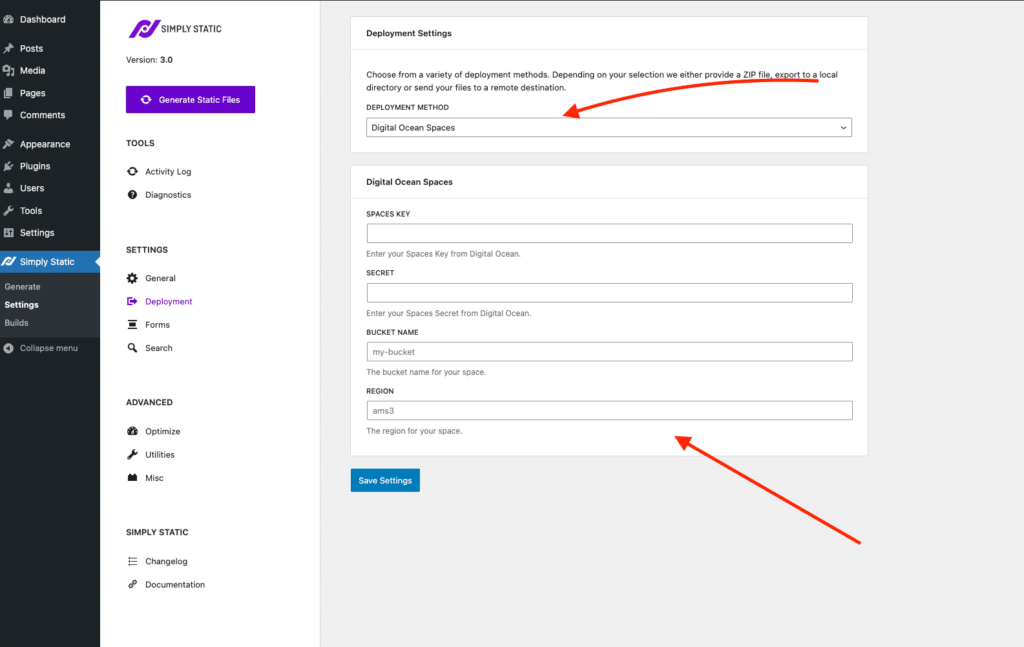
Fill out all the details for your bucket (API key, API secret, bucket name, and the region) and click “Save Settings”.
Export to Digital Ocean Spaces
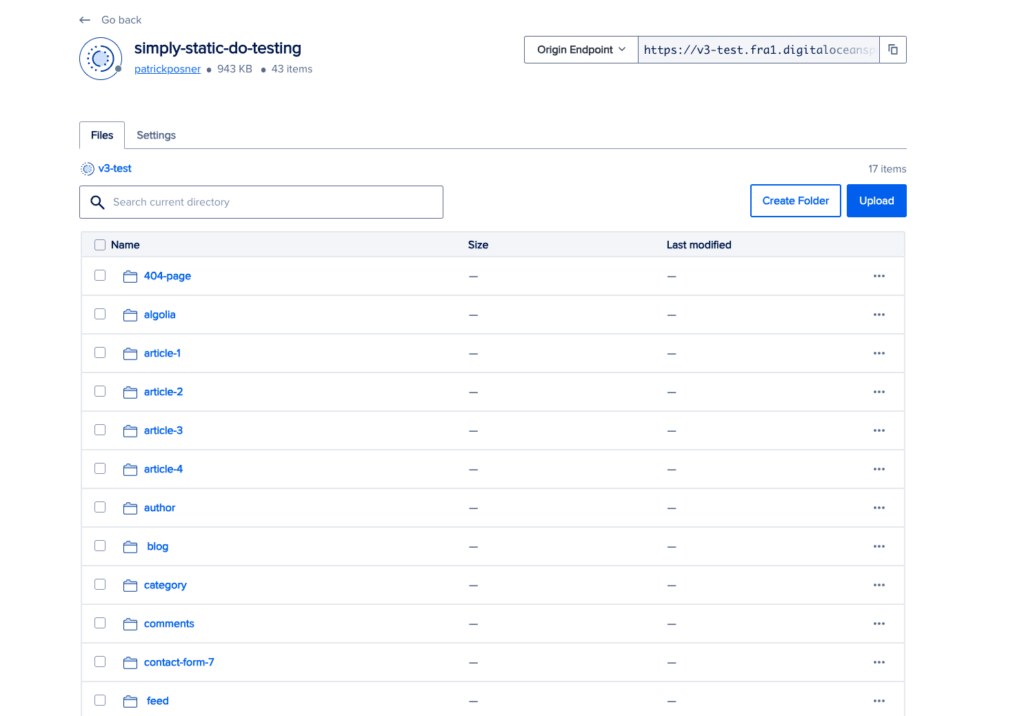
Now that everything is configured click “Generate Static Files” and switch to “Activity Log” to watch the exportThe process of saving the files and data from your WordPress site to create a static site. progress. Once done, your static files should be uploaded to your space, and the result should look similar to this:
